Introduction to Navigation
What is Navigation?
Think of navigation in Android apps like moving between different rooms in a house. Just as you need doors and hallways to move from one room to another, your app needs a way to move between different screens. In Android Compose, we use the Navigation component to create these "doors" between screens, making it easy for users to move around your app.
Whether you're building a social media app where users need to move between their feed and profile, or a shopping app where users browse products and view their cart, navigation is essential for creating a smooth user experience.
Why Do We Need Navigation?
- Move between different screens in your app
- Create a back button experience
- Pass data between screens
- Handle user flow and app structure
- Manage screen history
Quick Reference: Navigation Components
| Component | What It Does | When to Use It |
|---|---|---|
| NavHost | Container for navigation destinations | Setting up the navigation structure |
| NavController | Manages navigation between screens | Handling navigation actions |
| composable() | Defines a navigation destination | Adding new screens to navigate to |
| navController.navigate() | Performs navigation | Moving between screens |
Setting Up Navigation Dependencies
Before you can use navigation in your app, you need to add the required dependencies. These dependencies provide the navigation components and functionality we'll be using.
Add to libs.versions.toml
[versions]
    # ... other versions ...
    navigation-compose = "2.7.7"

    [libraries]
    # ... other libraries ...
    androidx-navigation-compose = { group = "androidx.navigation", name = "navigation-compose", version.ref = "navigation-compose" }
Add to app/build.gradle.kts
dependencies {
        // ... other dependencies ...
        implementation(libs.androidx.navigation.compose)
    }
After adding these dependencies, sync your project with Gradle files. You'll then be able to use all the navigation components we'll discuss in these lessons.
Basic Navigation Example
@Composable
fun AppNav(){
    val navController = rememberNavController()
    NavHost(navController = navController, startDestination = "home"){
        composable("home") {
            HomeScreen(onNavigateToProfile = {
                navController.navigate("profile") {
                    launchSingleTop = true

                }

            })
        }
        composable("profile"){
            ProfileScreen(onBack = {
                navController.popBackStack()
            })

        }
    }
}

@Composable
fun HomeScreen(onNavigateToProfile: () -> Unit) {
    Column(
        modifier = Modifier
            .fillMaxSize()
            .systemBarsPadding(),
        horizontalAlignment = Alignment.Start
    ) {
        Button(onClick = onNavigateToProfile) {
            Text("Go to Profile")
        }
        Spacer(modifier = Modifier.height(16.dp))
        Text(
            "This is the home page",
            modifier = Modifier.padding(16.dp)
        )
    }
}

@Composable
fun ProfileScreen(onBack: () -> Unit) {
    Column(
        modifier = Modifier
            .fillMaxSize()
            .systemBarsPadding(),
        horizontalAlignment = Alignment.Start
        ){
        Button(onClick = onBack) {
            Text("Go back")
        }
        Spacer(modifier = Modifier.height(16.dp))
        Text(
            "This is the profile page",
            modifier = Modifier.padding(16.dp)
        )

    }
}
What's Happening in the Example?
In this example we have two screens: Home and Profile. Below we walk through each part of the code and what it does.
1. The navigation manager: rememberNavController()
val navController = rememberNavController() creates the object that runs navigation. The navController knows every screen in the app, how to go to them, and the order in which you visited them (like a back-stack). You don't need to memorize that—just think of it as the "manager" that handles moving between screens.
2. The map of screens: NavHost
The NavHost is where you list all the screens and say where the app should start:
NavHost(navController = navController, startDestination = "home") { ... }— Inside the braces you define every screen the user can reach.startDestination = "home"— When the app launches, the first screen shown is the one named"home".
3. Defining each screen: composable()
Each screen is declared with composable("routeName") { ... }. The string (e.g. "home" or "profile") is the route—the name you use when navigating.
composable("home") { ... }— When the app goes to the route"home", it shows whatever you put inside the block (here,HomeScreen).composable("profile") { ... }— When the app goes to"profile", it showsProfileScreen.
4. Going forward: navController.navigate()
When the user taps "Go to Profile" on the Home screen, we call navController.navigate("profile") { launchSingleTop = true }. That means: "Go to the screen whose route is \"profile\"."
launchSingleTop = true is a small but useful option: if we're already on the Profile screen, we don't add another Profile screen on top. We stay on the one that's already there. That avoids stacking duplicate screens and keeps behavior predictable.
5. Going back: navController.popBackStack()
When the user taps "Go back" on the Profile screen, we call navController.popBackStack(). That tells the nav controller: "Remove the current screen from the history and show the previous one." So the user ends up back on Home, like pressing the device back button.
Putting it together
In order: (1) The app starts on Home. (2) Tapping "Go to Profile" navigates to Profile. (3) Tapping "Go back" pops Profile off the stack and returns to Home. The navController and NavHost work together so that each route name leads to the right composable and back navigation works as expected.
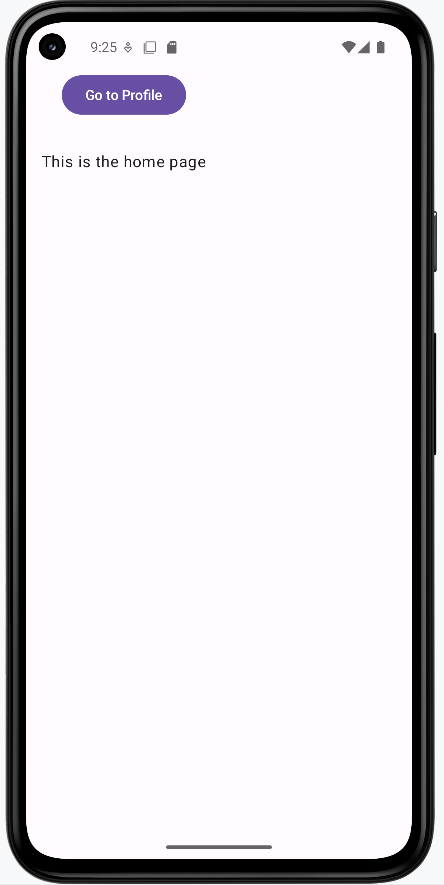
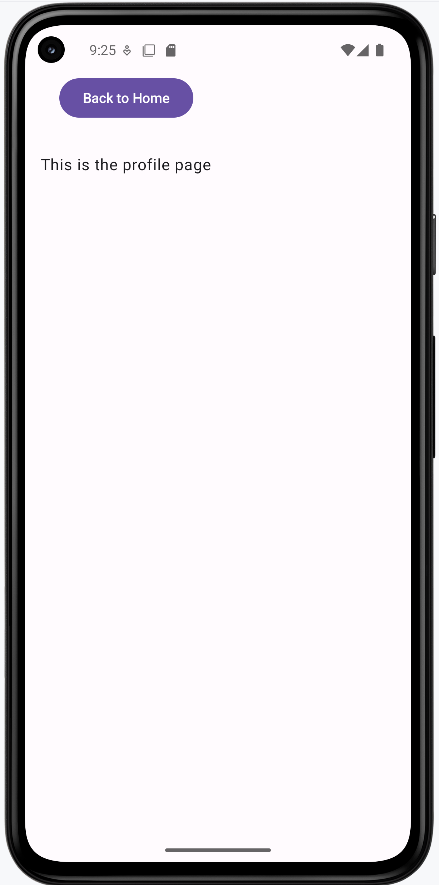
How this example renders
Above is just a snippet of the code to view the full code, you need to go to my GitHub page and look at the chapter9 intro.kt file.
The first image shows the home screen. The second image shows the profile screen.
Tips for Getting Started
- Plan your navigation structure before implementing
- Use meaningful names for your routes
- Start with simple navigation before adding complexity
- Test navigation on different screen sizes
Common Mistakes to Avoid
- Creating circular navigation paths
- Forgetting to handle the back button
- Using hardcoded route names
- Not planning navigation structure