Starter Application
Step 1: Create a New Android Project
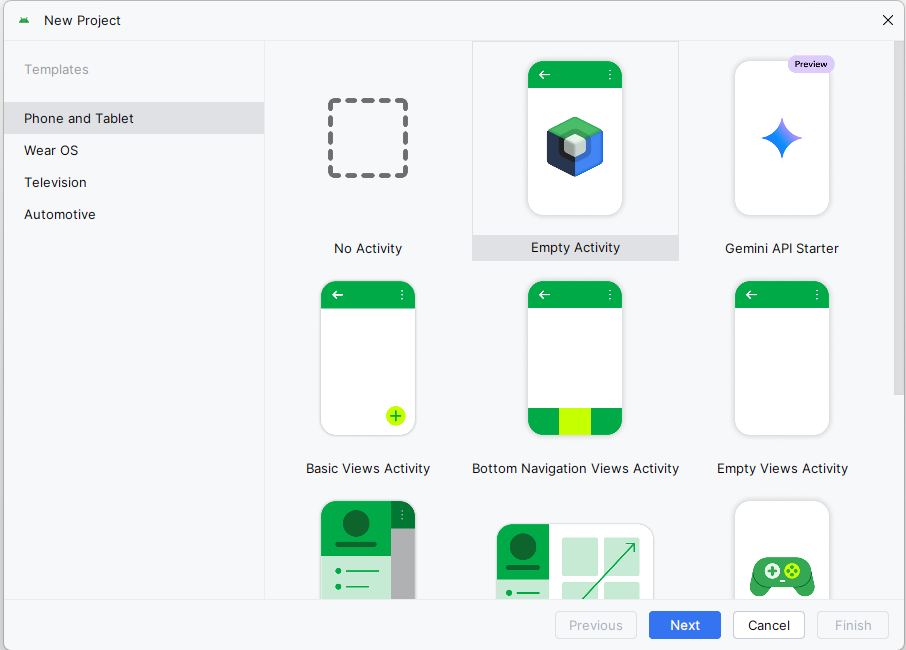
- Launch Android Studio and choose Start a new Android Studio project.
- Select the Empty Activity template and click Next.
- In the next dialog box give your project the name "BookExamplesApp". Your package name should begin with "com." and use a reverse domain name format. Choose a location on your computer to store your project. The path I have in the screenshot is where I stored mine yours will be different, just make sure your remember where you put it.
IMPORTANT it is very important that you do not create multiple locations for your projects. I have had students in the past that will do CPS251 and then cps251 and then be completely confused as to what is where. You just need one location. Please see the folder and file setup section below for more information.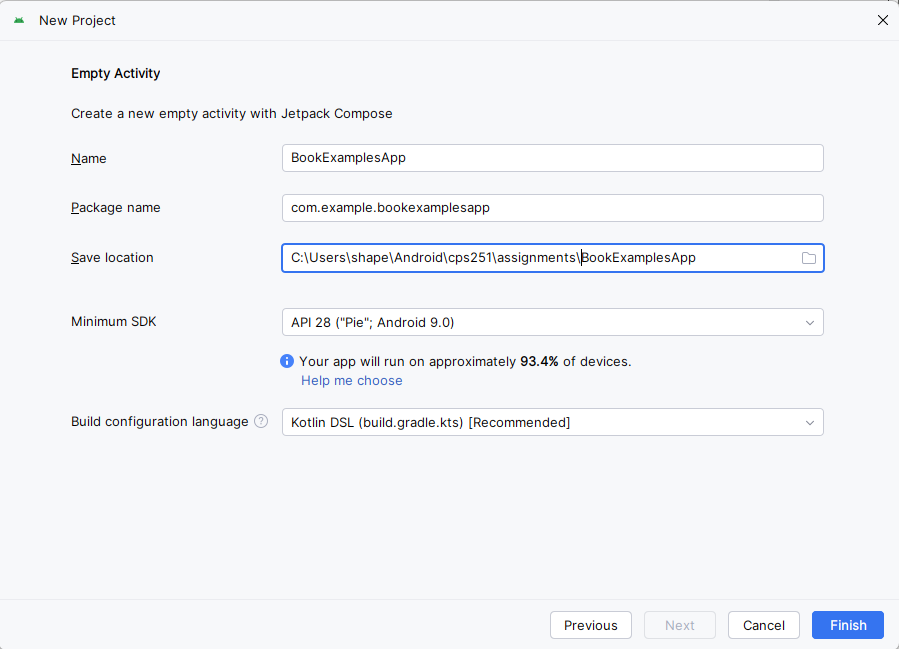
Step 2: Create the Application with Compose
All the applications in this class will be built using Jetpack Compose. Jetpack Compose is Android's modern toolkit for building native user interfaces using a declarative approach. It simplifies UI development by letting you describe how the UI should look and automatically updating it when the underlying data changes. As we progress through this course we will be looking at Compose in detail.
- When the application loads make sure you are in Android view
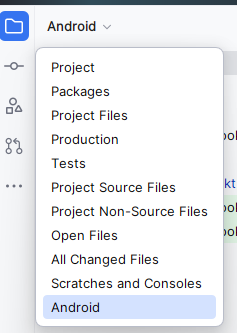
- Navigate to the
kotlin+javadirectory - Open the
MainActivity.ktfile by double clicking on it. - Replace the existing content with the following code. It is somewhat commented to explain what is going on, but don't worry about the code right now we will be going over that and more in this class.
IMPORTANTIf you followed along your project name will be package com.example.bookexamplesapp, if you named yours differently then you will have to change it to what you have. The package name will be the name of the package underneath the kotlin+java directory that starts withcom..NOTE: You may get an error about the innerPadding parameter. This is because the innerPadding parameter is not used in this example. You can ignore it for now.
// Main package for the app if yours is different then you will have to change it to what you have.
    package com.example.bookexamplesapp

    // Android and Jetpack Compose imports
    import android.os.Bundle
    import androidx.activity.ComponentActivity
    import androidx.activity.compose.setContent
    import androidx.compose.foundation.layout.*
    import androidx.compose.material3.*
    import androidx.compose.runtime.*
    import androidx.activity.enableEdgeToEdge
    import androidx.compose.ui.Alignment
    import androidx.compose.ui.Modifier
    import androidx.compose.ui.tooling.preview.Preview
    import androidx.core.view.WindowCompat

    // Main activity class - entry point of the app
    class MainActivity : ComponentActivity() {
        override fun onCreate(savedInstanceState: Bundle?) {
            super.onCreate(savedInstanceState)
            enableEdgeToEdge()
            setContent {
                BookExampleAppTheme {
                    Scaffold(modifier = Modifier.fillMaxSize()) { innerPadding ->
                        helloClass(modifier = Modifier.padding(innerPadding))
                    }
                }
            }
        }
    }

    // Main composable function that displays the UI
    @Composable
    fun helloClass(modifier: Modifier = Modifier) {
        // Column arranges children vertically
        Column(modifier = modifier.fillMaxSize(), // Fill entire screen
            verticalArrangement = Arrangement.Center, // Center content vertically
            horizontalAlignment = Alignment.CenterHorizontally) { // Center content horizontally
            Text("Hello Class") // Display text
            Text(text = "Welcome to CPS251") // Display text
            Text(text = "Programing in Android") // Display text
        }
    }

    /**
     * Preview for Android Studio's design view.
     * This allows you to see the UI in the design tab without running the app.
     */
    @Preview(showBackground = true, showSystemUi = true)
    @Composable
    fun helloClassPreview(){
        helloClass() // Show the same UI as the main function
    }
Step 3: Preview the App
If you click on the split icon in the upper right hand corner of the screen ![]()
You will see a preview of the app in the design tab.
As stated previously the preview is very helpful in seeing how the app will look on the device without having to run it. Running the app in an emulator will take time and uses a lot of computer resources so the preview really helps.
Step 4: Run the App
- Connect an Android device to your computer or set up an emulator.
- Click the Run ('▶') icon in Android Studio to build and run your application.
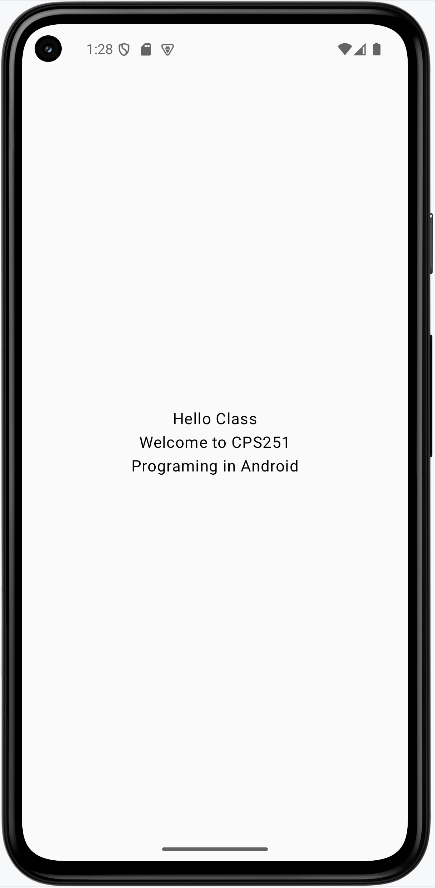
App should look like this:
NOTE: The screenshots in this book are using the pixel 5 emualator. Howerver, the pixel 6 emulator seems to be better after the latest update in February 2026. If you are using the pixel 6 emulator you may get a different look and feel, but the functionality should be the same.
Reusing this application
Many of the examples and assignments we create will just be changing the Main Activity file. So intead of re-creating a new application each time you can just update/change your main activity file. I would recommend you save all your assignment main activity files as a .kt file. That is how I did most of the examples. In some case we will have to create a new application but for now this is our starting point.
Folder and File Setup
I recommed you create a folder named cps251 and subfolder for every assignment. Inside the assignment folders you will have the main activity file and any other files you need for that assignment. I would also recommend you create a folder named examples and put all your examples in that folder. This will help you keep your files organized and make it easier to find them later. Set Git up in the main cps251 folder and then commit your changes to the repository when needed it will update them all.